Wondering how to set up R36S for the first time? Good news: it is one of the easiest retro handhelds to get started with. There is no firmware to flash and nothing to download — this guide walks you from box to first game in just a few minutes.
How to Set Up R36S: Overview
Learning how to set up R36S takes less time than charging it for the first time. There are four simple steps: charge the device, power it on, open the game menu, and pick a title. No accounts, no downloads, and no companion app required.
What Is in the Box
Your R36S package typically includes the console, a preloaded MicroSD card already inserted, a USB Type-C charging cable, and a quick start sheet. The games are already on the card, so everything you need to play is in your hands.
Step 1: Charge Your R36S
Before your first session, plug the included USB Type-C cable into the charging port and give the console a full charge. A full charge takes a couple of hours and delivers hours of play. You can play while charging if you are impatient.
Step 2: Power On and Open the Menu
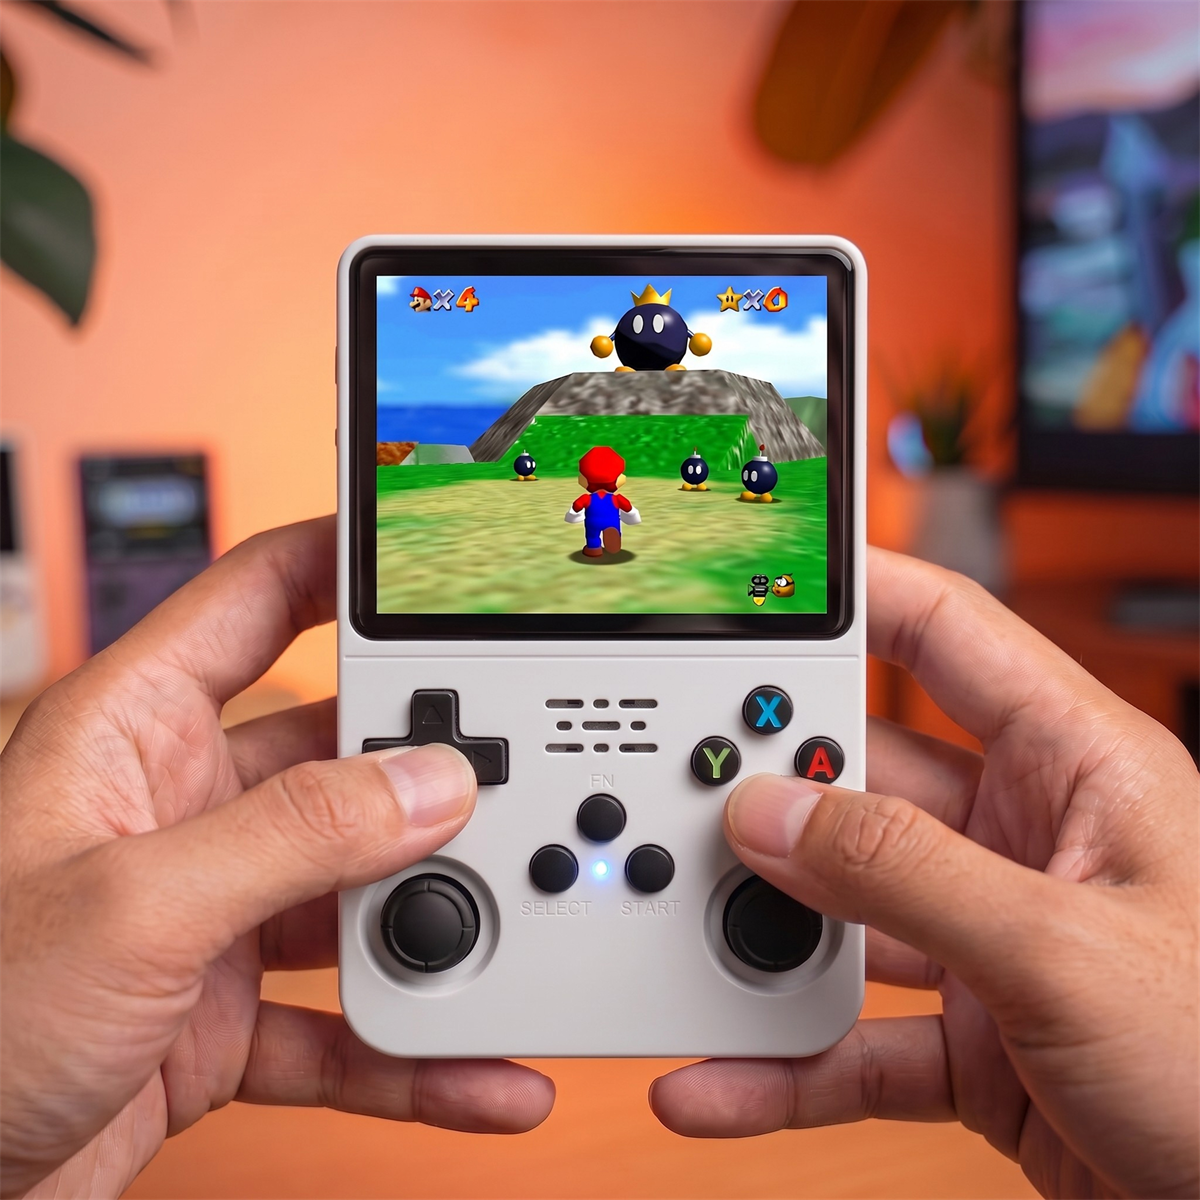
This is the core of how to set up R36S for play: hold the power switch on the top edge of the console. Within seconds, the R36S boots straight into its game menu, organized by console. No login, no setup wizard — you are ready to go.
Step 3: Pick a Console and Start Playing
Use the D-pad to scroll through the console categories (NES, SNES, PS1, and more), press the confirm button to open one, choose a game, and press it again to launch. That is genuinely all it takes.
Step 4: Learn the Controls
The layout will feel familiar to anyone who has held a controller:
| Control | Function |
|---|---|
| D-pad / Joysticks | Move and navigate |
| A / B / X / Y | Action buttons |
| Start / Select | Start games and open in-game menus |
| FN (Function) | Shortcuts like save states, brightness, and exit |
| L / R shoulders | Secondary actions in supported games |
Tips for Your First Session
- Use save states. The FN button combos let you save anywhere — perfect for tough retro games.
- Adjust brightness to balance visibility and battery life.
- Explore by console — the library is huge, so start with the systems you grew up with.
What If Something Goes Wrong During Setup?
Most setup issues are easy to fix. If the screen stays black, hold the power switch for a few extra seconds to confirm it is fully charged. If a game will not launch, double check the MicroSD card is seated properly. And if you want to back up your progress before a tough boss fight, use the FN button shortcut for a save state instead of the in-game save, since it works in every game.
Once you are comfortable with the basics, the rest of how to set up R36S the way you like — brightness, button mapping, and folder organization — is just a matter of exploring the FN menu at your own pace.
Want to go further and load your own titles? Check our guide on how to add games to the R36S.
Frequently Asked Questions
Do I need a computer to set up the R36S?
No. The R36S comes preloaded with games and boots straight into a menu, so you can start playing without a computer or any setup.
How do I turn on the R36S?
Charge it first, then hold the power switch on the top of the console. It boots into the game menu within seconds.
How long does the R36S take to charge?
A full charge over USB Type-C typically takes a couple of hours and delivers hours of play.
Does the R36S need WiFi to play games?
No. All games are stored locally on the device, so you can play offline anywhere.